Posts tagged:

Modeling

Lauren’s Desk

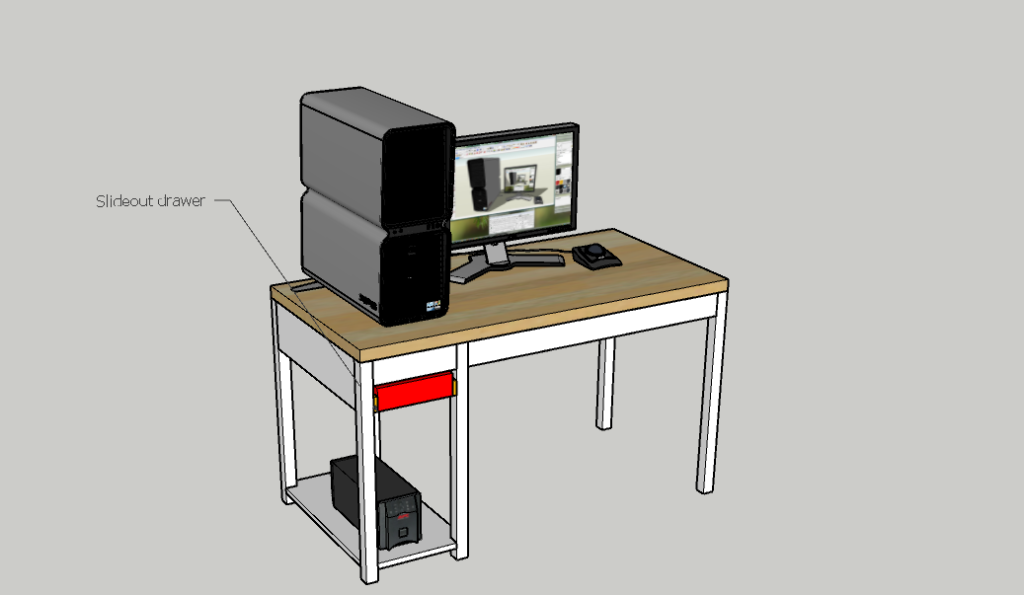
Lauren was using her desk for art and computing. She sketched out a design and I quickly drew it in sketchup.

Desk Concept

We decided to use an existing top from Home Depot. I probably won’t do this again. The quality is really poor. I had a to gouge out lots of loose wood and we used lots of Cyanoacrylate (“CA”) glue and epoxy to fill in the voids and then used my Lie-Nielsen No. 60-1/2 Adjustable Mouth Block Plane to shave off the excess adhesive. The end result was a nice smooth table, but the wood quality was really poor.

Pocket Hole Calculations

I measured my Kreg pocket hole drill bit as 133 mm long and 9.5mm wide with a pilot hole that is 4 mm in diameter and 12mm long (please comment below if you know the factory dimensions). Getting the Kreg dimensions right is an interesting problem. You can some discussion and calculations at this link and folks have talked about this.

Kreg pocket hole calculations

Since I’ll be screwing pocket holes into the legs, I selected 1″ Long Square-Drive Flat Head Screws for Wood, Black-Oxide Steel, Number 8 Screw Size. I will be using glue as well. The key dimension is the 15 degree angle and the key parameter is the distance between the 75 degree offset plane (green above) and the start of the pilot hole. In this case, I needed zero.

To get this working in fusion 360, I wrote this script.

I then drew the desk in Fusion 360.

desk rendered
Desk Rendered

And used cutlistoptimizer.com to generate the layout.

Cutlist Optimizer

I generated engineering drawings for the desk drawer.

drawer

And also generated drawings for all the components.

Major Desk Components

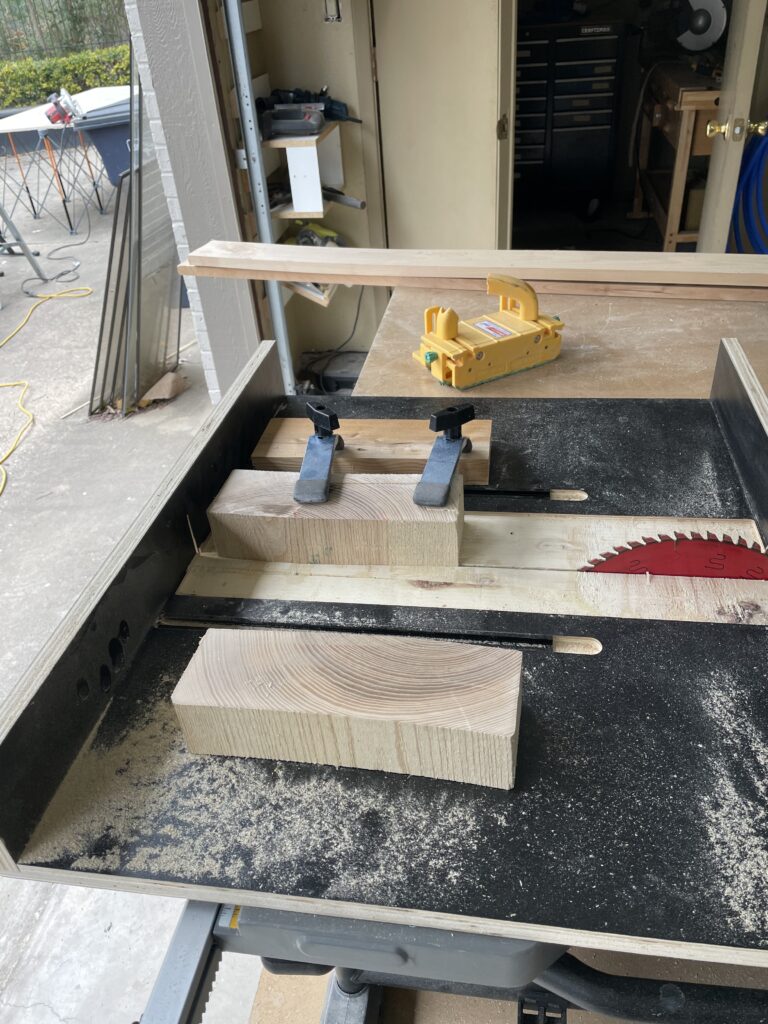
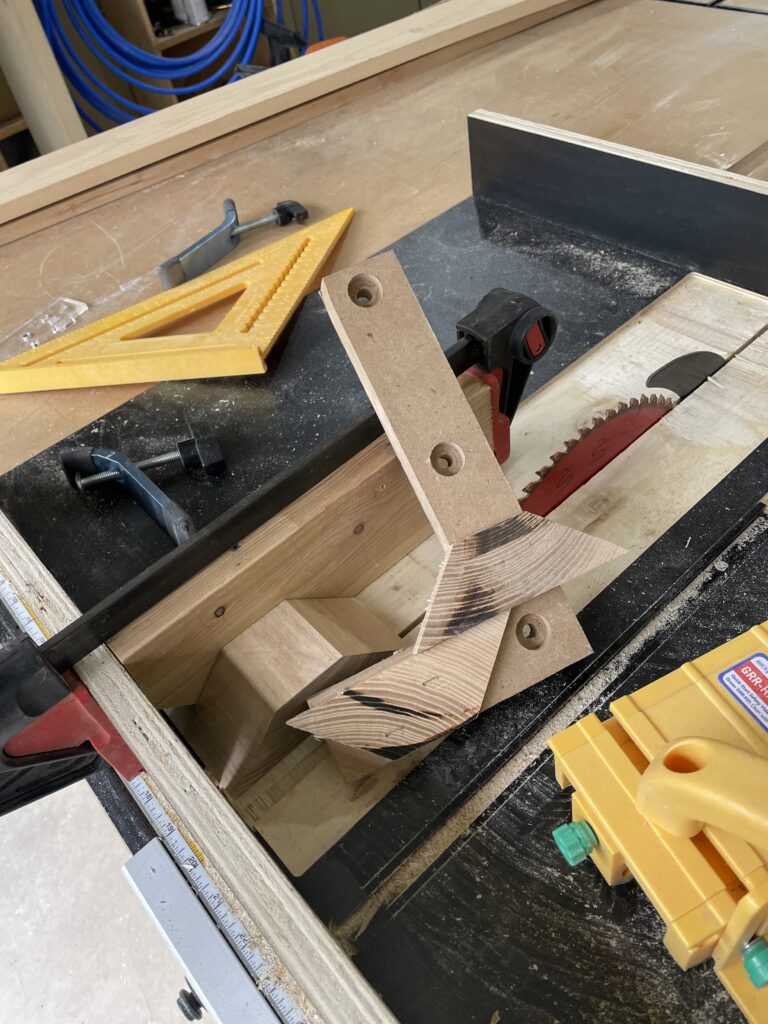
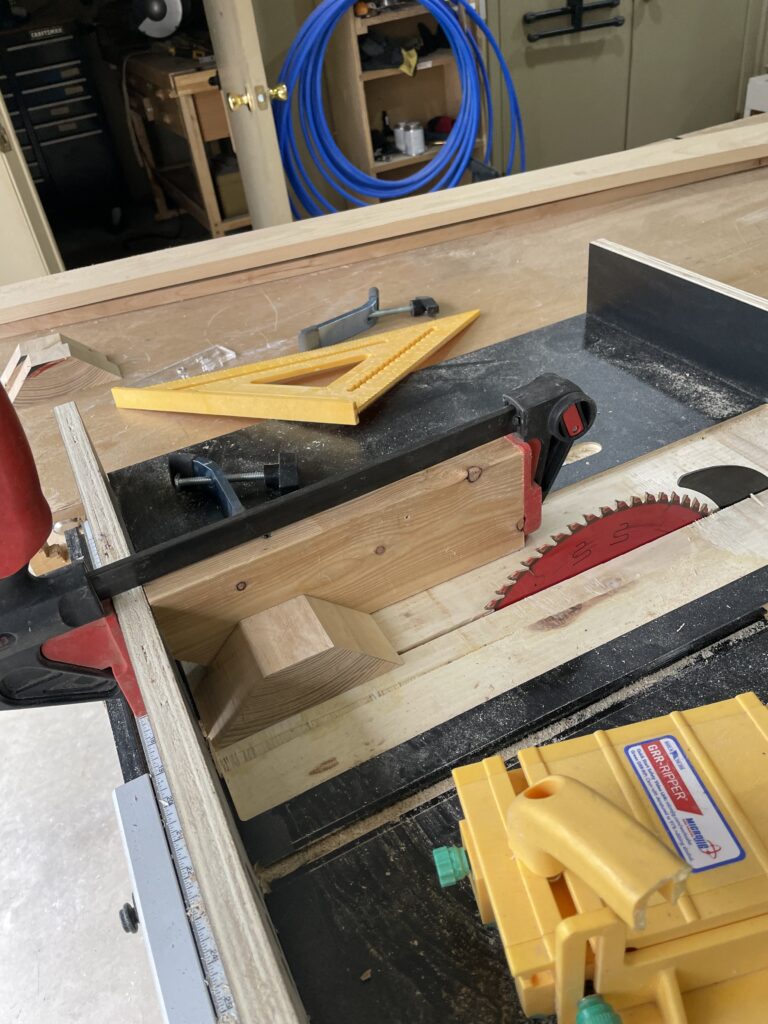
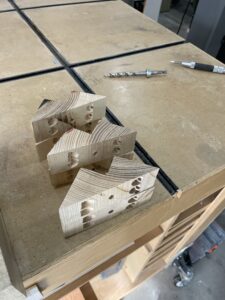
I’ve been generally unhappy with most table leg brackets, so I designed my own. This was pretty complicated, since they were an odd size that I had to cut out of a solid block of ash.

Brackets

I made them to fit the dimensions of the table exactly and use a lag screw to anchor the legs.

bracket dimensions

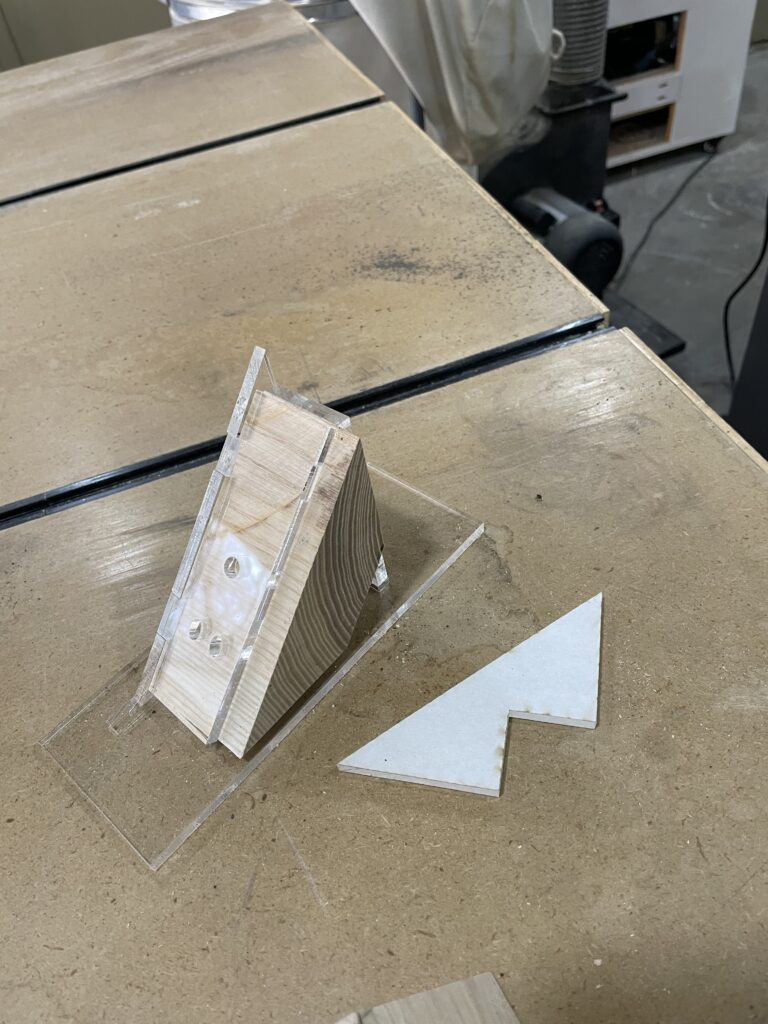
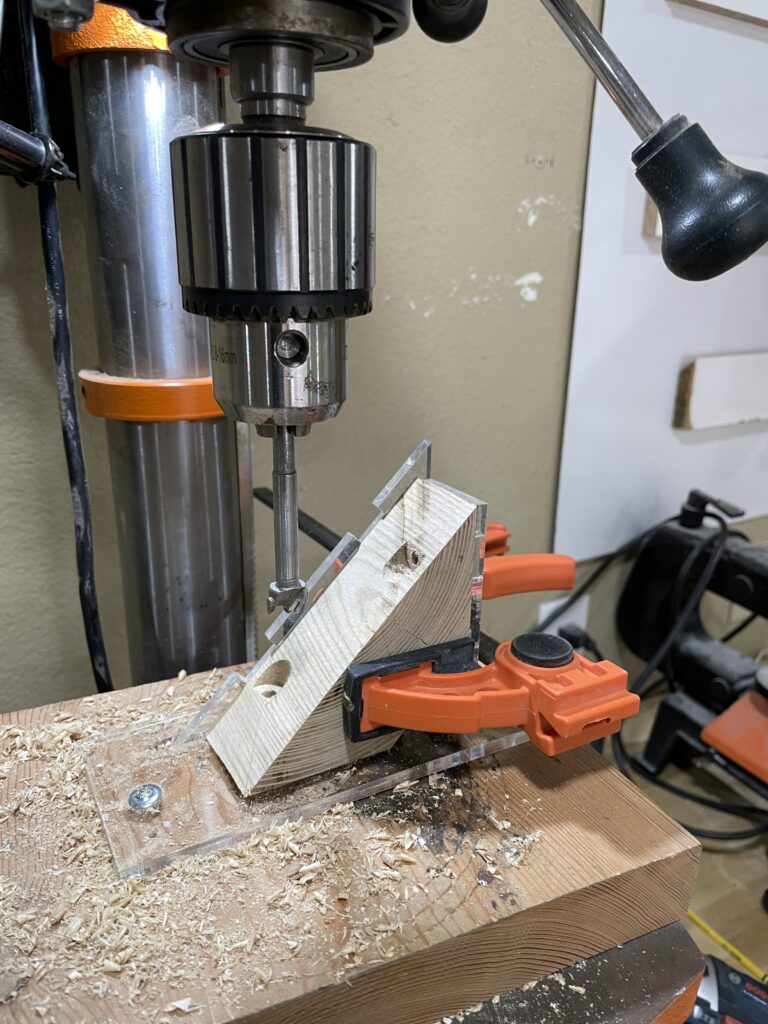
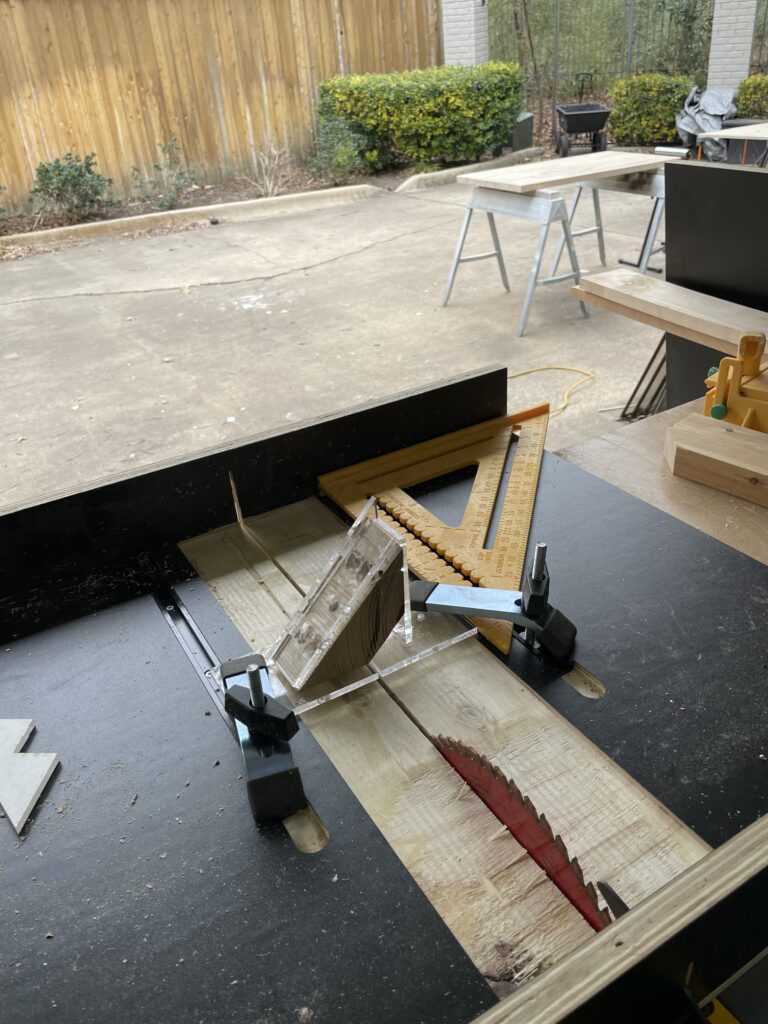
To build these brackets, I laser cut a jig to ensure I cut the holes at the right places. This worked out really well using my crosscut sled and drill press.

Jig Design

The final desk came together pretty much exactly according to plan.

Final Product
By One Comment

Kerf Mounted Corner Brackets

Kerf Mount Corner Brackets are great. But it takes some thinking if you are working with larger lumber. I recently purchased these and these from amazon.

The corner bracket looks like this:

The trick is figuring out where to cut the leg at 45 degrees and the kerfs, especially if the leg isn’t square. I was going to work out the geometry of this, but instead I measured the bracket, drew a horizontal profile in visio and then measured the geometry. Since the leg isn’t square, I had to decide where the bracket mounts flush. I included my drawing here in the hopes that it may be helpful to you.

There are instructions here.

By 0 Comments

FlexEvents: WOD 3 Simulation

During a recent CrossFit competition, flex on the mall, we had to accomplish a team chipper in which we were able to pick the order of team members in order to minimize our workout time. The workout was simple: 50 burpees, 40 over the box jumps, and 30 kettle-bell snatches. Each exercise had to be accomplished in serial: no one could start an exercise until their previous team member had finished. This meant everyone waited while the first person started. As simple as this was, I got confused when figuring the optimal order for team members: should the slowest go first or last?

At the time, I thought the best strategy would be to have the fastest go first, to prevent the scenario where the fast folks were waiting and unable to help the team. I was focused on the idea that you didn’t want anyone to be waiting — so clear out the fast people first. My partners wanted the slowest to go first because the slower participants could rest, go super slow and not affect the final score.

While I was wrong, and they were correct, this didn’t make sense at the time, because I was viewing the whole thing as a linear operation where order didn’t matter, but waiting on someone would definitely slow down the overall time. It turns out that if you put the slowest last, no one is waiting, but the clock is rising totally based upon the slowest time, when you otherwise could have obscured their slow time. The workout came down to the following critical path: the time it took to do everyone’s burpees plus the last participant’s time.

However, this is only true if the time it took to do burpees was significantly more than the other events and there was not a significant difference in fitness between team members. After the competition, I wanted to understand the dynamics of this workout and build a quick model to understand where these assumptions held true and hone my intuition for stuff like this.

It turns out the worst thing to do is have the slowest person go last. The reason why is really simple: you are putting them in the critical path. In fact, an optimal strategy is to have the slowest always go first. If I assume all four members have different speeds, and made an assumption like this based on expected values of their workout times. Let’s assume four members have the following expected completion times (in notional units), where person 1 was the fastest and each successive participant was slower in all events.

Note: These are totally made up numbers and have nothing to do with our team . . . says the man whose wife now routinely kicks his scores to the curb.

person 1 2 3 4
burpees 9 10 15 17
box jumps 7 8 13 15
KB snatch 5 7 11 13

_

In this case, I wrote some Matlab to look through all (4! = 24) permutations. (Remember: 1 = fastest, 4 is slowest.)

CrossFit Order

This is such a simple event that you can see the basic building blocks without much introspection: 21 is the fastest time to complete the sequence and 45 is the slowest. If the team were all comprised of person 1 they could complete the whole thing in 48. As this fictional team is, burpees alone will account for 51 regardless of order, but if the fastest goes at the end, you can get away with only adding 15 on to the total time, versus adding 28 if the slowest person goes last.

Several things here. It is so simple to work the math of this with variables instead it probably should be done. A better analysis could show you how much variation you could tolerate between athletes before the problem dynamics above don’t apply. Maybe another lunch break for that.

OK, on some more thought, I thought I would look at several scenarios and show optimal strategies.

A team member is much slower on burpees, but faster on the other events.

In this case, it still makes sense for her to go last. The burpees are linear, but speed in the bottom two events determines the order. It helps me to assign a color to each team member and see all 24 strategies on one plot. The lightest shade is member one who has a burpee time of 40 compared to 4 for the others, but is faster in the other two events than the others. In the plot below, the fastest combinations are at the top where you can see that all the fastest outcomes have member one going last.

burpees slower on 1

Burpee times equal KB snatch times

So if their event times look like this where everyone’s KB snatch times equal their burpee times.

burpee times:    1   2   3   4
box jump times:  2   2   2   2
KB snatch times: 1   2   3   4

Then all outcomes are equal and you get a truly random pattern where all outcomes are equal regardless of order. So in this case it doesn’t matter what order you do the workout in, even though 4 is much slower than 1. Interesting and counter-intuitive.

colors

My code is below for any of those interested.
By One Comment

Workout Tracking Solution

I love to exercise. It gives me an excellent chance to relax and preserve my overall goal of maximizing my physical strategic margin, or keeping maximum function as long as I can. (I want to be able to wrestle with my grandkids as long as I can.)

I also love data. I love to track everything and know that if I care about changing something I should probably track it. I am also becoming more aware of a tendency to focus on long term goals instead of achieving short-term success and moving on from there. For several years, I have recorded if I worked out our not and give myself a 1-5 score for the category fitness. (As I do for my wife, relationships in general, devotional living and stress.)

While I have enjoyed looking back at my monthly graphs and reports, there have been several trends I’ve noticed that have been very insightful for me. I also am motivated to meet my goals when I know I am accountable to myself and anyone (my grandkids again?) who are going to look at my data. However, one of the things I have never been able to crack is how to track my workouts. I thought about making a simple text field that I can search, but how could I see my progress over time. When I was primarily a runner, I used to make graphs showing my mileage and overall pace improvements, but how could I show improvement with the diversity of workouts that CrossFit is providing me.

When I had to list my goals, I went back to my values. In this case they are:

  • Don’t get hurt (learned this one from experience)
  • Frequency: workout every day in some way if possible (yes, diversify)
  • Diversity: don’t long-neglect any of the core principles: Strength, Stamina, Cardiovascular Endurance, Flexibility, Speed, Power, Agility, Accuracy, Balance and Coordination
  • Improvement: improve in all core principles

With this in mind. I would like to track workout’s at the most granular level, if I could do so quickly. So, in setting software requirements, I look at the questions I would want to answer. Some examples where (T) is a threshold (must do) and (O) is an objective (want to do):

  • (T) Have I worked out frequently this month? (=> calendar view over varying times)
  • (T) Am I improving? (=> need to show incremental progress; chart)
  • (T) What is my PR for overhead squat? (=> query that lists PRs for all workouts; make this public?)
  • (T) What is my last score for “Cindy”:http://www.whatiscrossfitexercise.com/wod-cindy.php? (=> that would be on PR page, so named workouts and movements would have to be in a similar query)
  • (T) What are my last 10 scores for Cindy (=> time series query from previous)
  • (O) How many Watts did I burn this week? (=> need to track Work / Time)
  • (O) Is my ability to do more work faster improving? (=> need to index performance)

Next, I wanted to look at the data format when I just write down my exercises:

  • Run 3.65 miles in 20 minutes (=> need to record, distance, time and workout name)
  • Cindy: 28 rounds (=> need a database of crossfit workouts preloaded)
  • 5 rounds Cindy, 15 Squad Cleans (#145), 5 rounds Cindy in 13:48 (=> need to record reps of named workouts)
  • Bench 245 x 10 x 3 (=> need to record reps, weight, rounds | might not have time)
  • Bike 6 miles in 25 minutes (=> same requirements as running)
  • Climbing for 2 hours (V4+!) (=> need notes field; might not have distance or reps)

All together, I had enough to start on the database design, which I always do on paper and ended up looking like this:

ER Diagram

]1

Basic Entity Relationship Diagram

In listing out the basic data, I clearly needed to track weight and distance, in addition to the time duration and quantity that the basic exercise was performed. In order to connect between a workout and a specific instance of an exercise I created a join table value named an exertion. The tricky part would be the set of characteristics required to derive power from each movement. For example, the bench press would move a distance of my arm down and up with a resistance equal to the weight on the bar. My agile strategy was to input the data and start recording what I could and then figure out how to deal with the data later when collected.

The results of my initial web application are below:

Workout Entry

Some features I did incorporate were the ability to create an exercise on the fly when inserting data. I wanted to make the data input quick and painless. I also made the four input fields very basic, and not tailored to the exercise in question. A future iteration on this would be to disable fields that are not relevant to a particular exercise. Through using the chronic gym and rails virtual attributes, I made the input general as well, so you could type in 6:41 for a mile run time or something like 6 min and 41 seconds or even 401 seconds. I haven’t incorporated it yet, but I also would like to input the distance in meters or miles and have either one work seamlessly. In any case, this format is going to work for now. I plan to collect data for a couple months, then play with adding the ability to track progress and some basic validation on the form elements. Please let me know if you have any comments or suggestions how I can make this better. This might already exist, but I haven’t found it, and I want to get this to work with my overall system and will probably stick to a custom solution, so I can own my data and adapt the system over time.

*Edit:* Check out this site, science behind sweat I probably can improve on this, but looks cool.

By 0 Comments

Build 3d Model of Yard

I have always believed in compensating for my lack of experience through leveraging my modeling background. With the right tools, I can hone my intuition and help my lack of experience through careful planning. I also need tools to communicate to my family, friends and any contractors my exact plans. In the past I had built small 3d sections of my yard through setting up a laser level on a high point and breaking my yard into a grid and carefully measuring with a level. The results were a 3d point cloud that I wrangled into (formerly) Google SketchUp.

My latest plans call for a shed and potentially a kitchen and house expansion. This requires a full 3d model of my entire yard and I don’t have anything close to the time required to build separate grids and compile them into a patchwork. Additionally, a key principle of mine is to match the fidelity required and all I needed was a rough sandbox for my yard — for the purposes of design only. This means I could be up to 5-10 off in elevation and still get what I want.

Two years ago, I purchased the GIS data for Alexandria, and through Matlab mapping toolbox I was able to pull up the following contours of my yard.

Image

I couldn’t think of any immediate way to get these lines into dxf or some vector format readable by SketchUp, but I was able to retrace the lines easily enough (2 hours of work, but I wanted clean splines anyway) when I combined the 2′ contour data with the following survey of my house.

Image

The problem was that it produced a terrible approximation that didn’t look like my yard. I ended up trying to approximate the yard through some basic shapes, but I ended up with this mess.

first try of 3d yard

The next try was an attempt to get the fidelity right and rely on intuition. I took a hose out and tried to keep it flat. I learned that the city plot was a lot more accurate than I originally thought. Oh well, but now I had a better model to work with. I used Autodesk Sketch on the ipad and made up the contours with my finger. Than I scanned them into visio to get some good splines.

Here is the result:

contours

landscape_update_1

With some rough pulling, I have something much closer to what I’m expecting:

landscape_update_3


All together this gave me exactly what I wanted, a solid 3d model that enabled me to play with my yard and start planning my shed.

3d view

3d view 2


By 0 Comments