Lauren’s Desk
Lauren was using her desk for art and computing. She sketched out a design and I quickly drew it in sketchup.
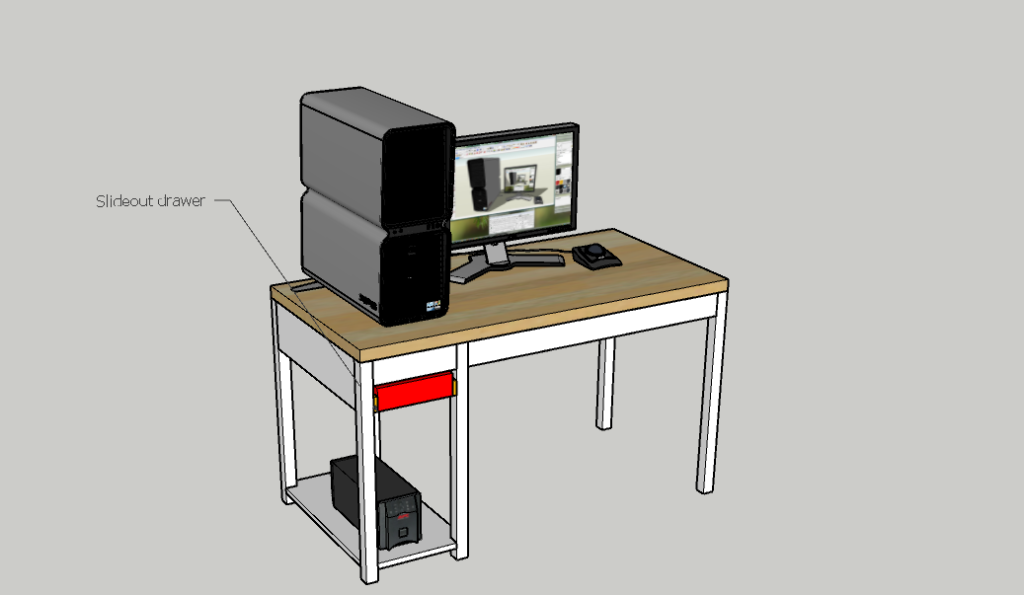
We decided to use an existing top from Home Depot. I probably won’t do this again. The quality is really poor. I had a to gouge out lots of loose wood and we used lots of Cyanoacrylate (“CA”) glue and epoxy to fill in the voids and then used my Lie-Nielsen No. 60-1/2 Adjustable Mouth Block Plane to shave off the excess adhesive. The end result was a nice smooth table, but the wood quality was really poor.
Pocket Hole Calculations
I measured my Kreg pocket hole drill bit as 133 mm long and 9.5mm wide with a pilot hole that is 4 mm in diameter and 12mm long (please comment below if you know the factory dimensions). Getting the Kreg dimensions right is an interesting problem. You can some discussion and calculations at this link and folks have talked about this.
Since I’ll be screwing pocket holes into the legs, I selected 1″ Long Square-Drive Flat Head Screws for Wood, Black-Oxide Steel, Number 8 Screw Size. I will be using glue as well. The key dimension is the 15 degree angle and the key parameter is the distance between the 75 degree offset plane (green above) and the start of the pilot hole. In this case, I needed zero.
To get this working in fusion 360, I wrote this script.
I then drew the desk in Fusion 360.
And used cutlistoptimizer.com to generate the layout.
I generated engineering drawings for the desk drawer.
And also generated drawings for all the components.
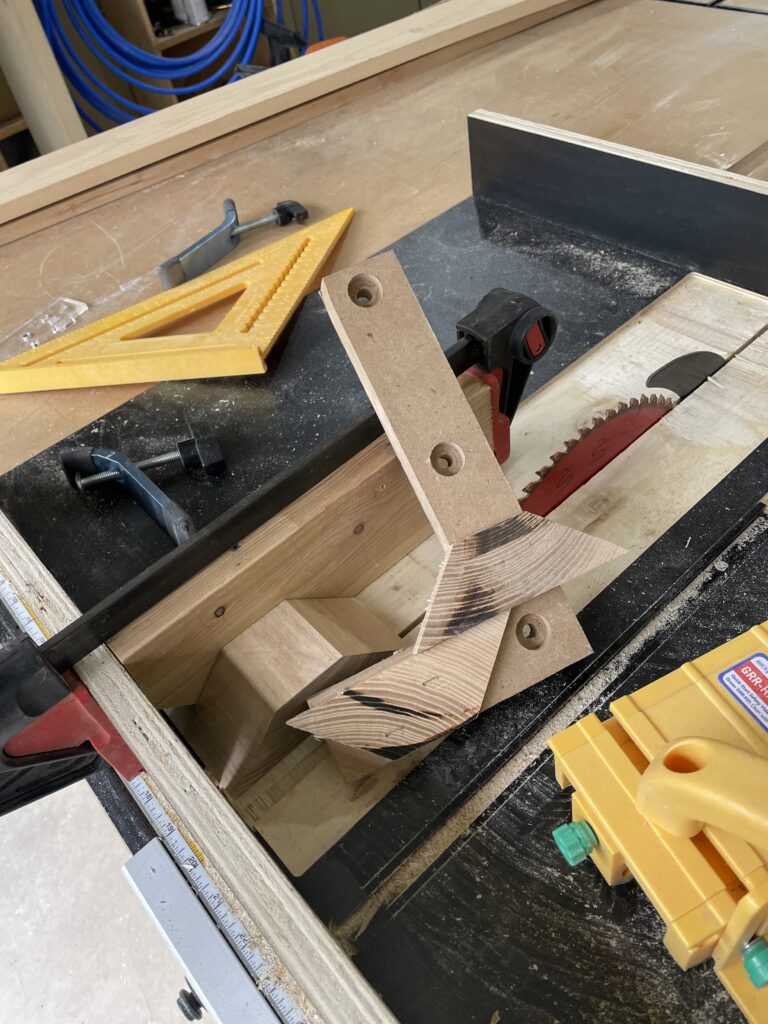
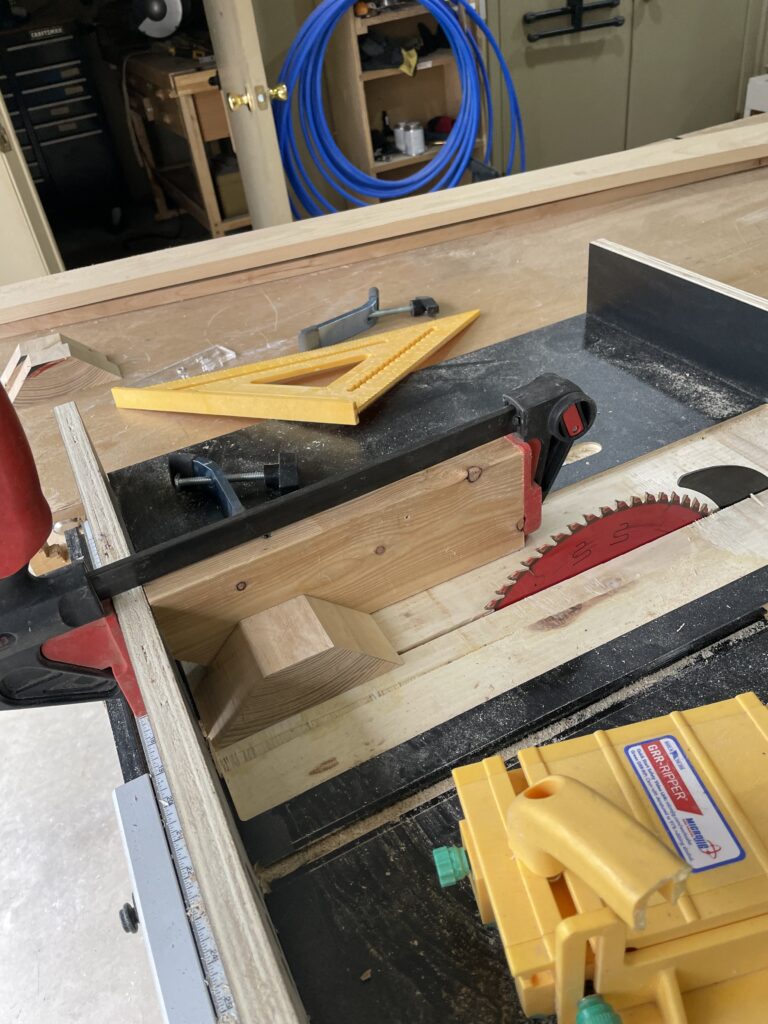
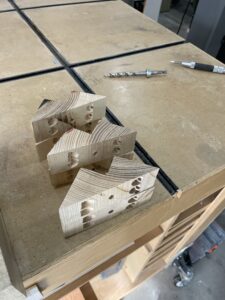
I’ve been generally unhappy with most table leg brackets, so I designed my own. This was pretty complicated, since they were an odd size that I had to cut out of a solid block of ash.
I made them to fit the dimensions of the table exactly and use a lag screw to anchor the legs.
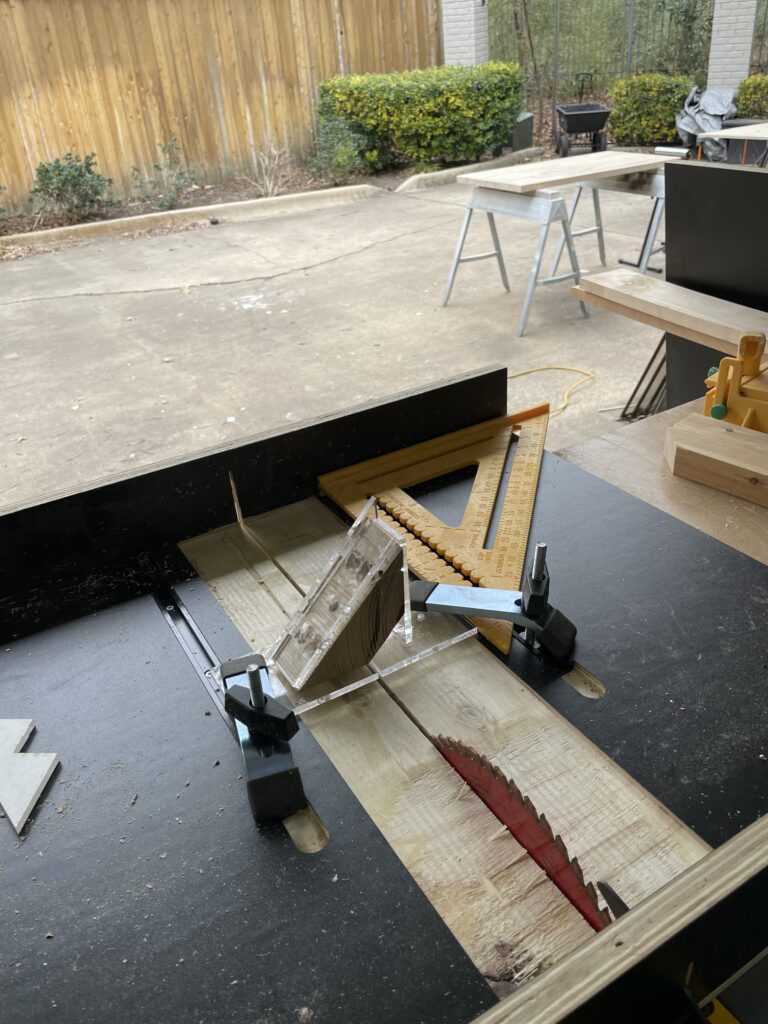
To build these brackets, I laser cut a jig to ensure I cut the holes at the right places. This worked out really well using my crosscut sled and drill press.
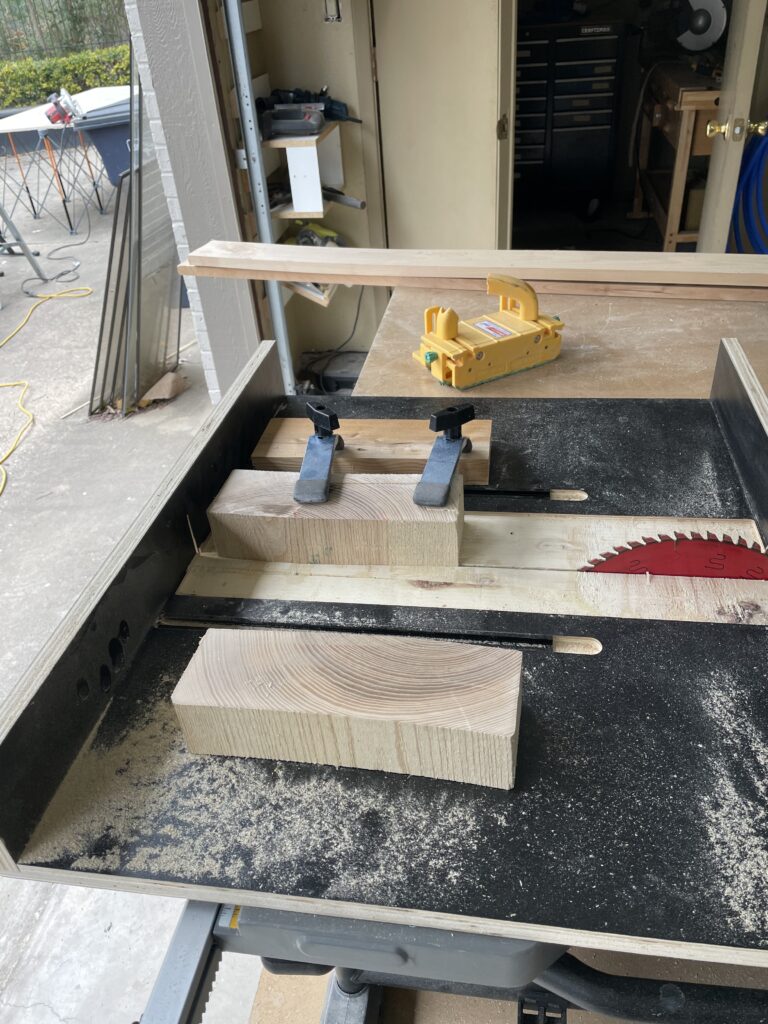
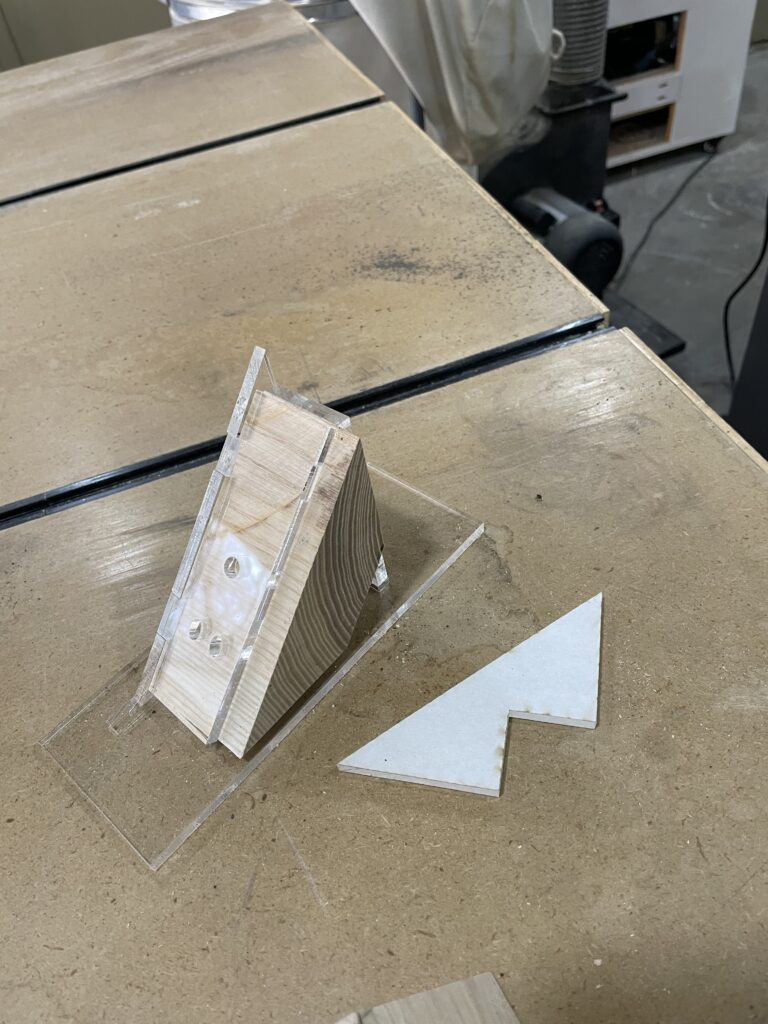
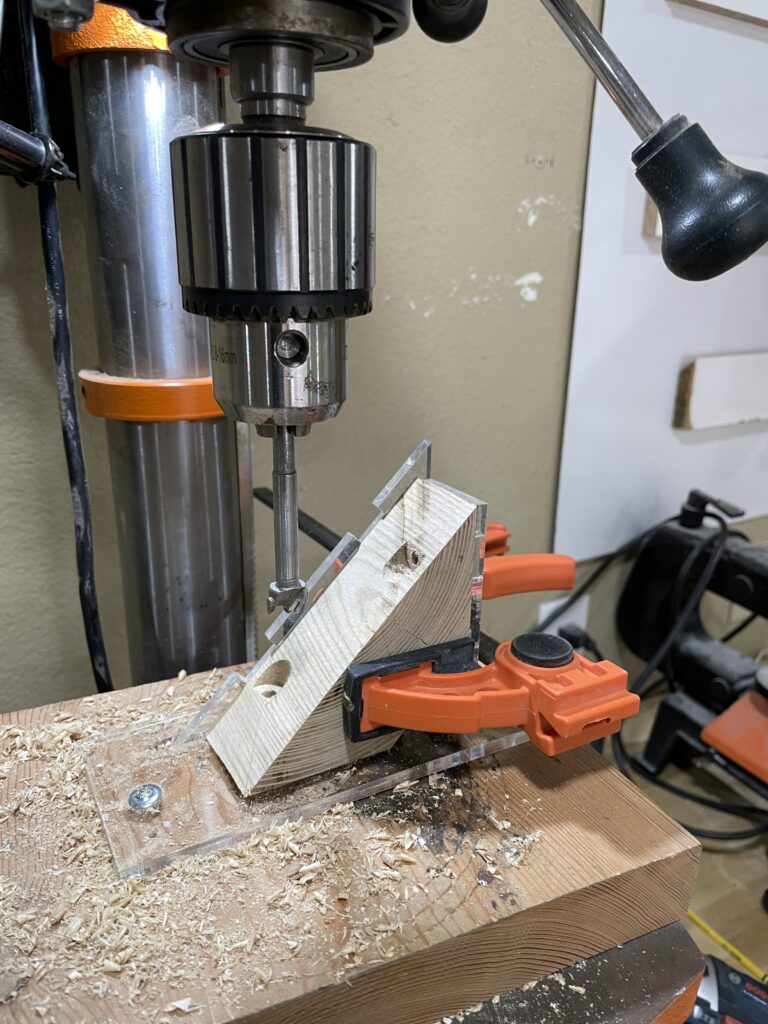
The final desk came together pretty much exactly according to plan.


Laurel Booher
April 9, 2022 at 9:13 am
You are amazing!!! Love it! ❤️